
From simple scenes, to fully functional video games, students can learn to code whatever their hearts desire using Scratch.
When I first started teaching coding in my classes I thought that Scratch would be way too complicated for my elementary school students, but time and time again they have proven me wrong.
Scratch is designed for students aged 8-16, but I have seen younger students – and plenty of adults for that matter – enjoy it successfully.
If you are working with younger students, you can also try ScratchJr which is designed for ages 5-7.
Introducing Scratch and block coding has been one of the best decisions I’ve made as a teacher for several reasons:
- Communication Skills
I usually have students work in partners during coding activities a) because I don’t have access to enough devices, and b) to help promote communication, turn taking, and problem solving skills. When students work with a partner they need to share their thinking out loud with one another, collaborate and listen. Yes, the Vanilla Ice reference was intentional, and yes I may or may not have taught my class to respond to Alright stop! with Collaborate and listen! as an attention grabbing call and response in class.
- Literacy Skills
In order to use Scratch, students need to read the blocks of code and also do some writing. As students are writing their code, they need to be able to read and understand the blocks of code that they are selecting and place them in a logical sequential order to ensure their code works. If something goes wrong they need to go back and troubleshoot what went wrong, and guess what: that means more reading, more sequencing, and more comprehension. While the amount of reading and writing may not seem like much, it is an opportunity for practical and high-interest application of these skills, and it is also an opportunity when I see all of my students able to succeed. Even my students who struggle the most with literacy are able to feel successful using Scratch.
- Differentiation
I like to provide lessons that are open-ended with Scratch so that students who need an additional challenge have the opportunity to do so, and so that students who may find it more difficult are able to still be successful. During Scratch challenges I am constantly circulating in the room, checking in with each group or student as I pass, asking about what they’re coding, what they’re learning, and to make sure I can offer guiding questions if needed.
I usually start off with a base challenge (for example: code a scene with two sprites, where they have a back and forth conversation, with one costume change) that all students must complete. For an added challenge students are required to find one new function they’ve never seen before to create a surprise ending for me or something similar. I give them full creative freedom, and have been really impressed with the range of things they come up with.
Students who may need additional support are offered appropriate scaffolding through verbal prompts and frequent check-ins, and I also offer the opportunity for students to work with a partner so that if anyone is feeling less confident they can learn from a peer.
- Low Prep
For anyone who is short on prep time and wants to quickly prepare an engaging lesson for their students, Scratch is a great option. Don’t worry if you are new to Scratch, if you trust your students to have some unstructured exploration time and then provide some time for each student to share what they learned at the end, your students will teach you plenty! If you really want to prepare first, I suggest the easy to follow tutorials on the Scratch website. HINT: You can also assign the tutorials as the lesson!
I recently had to prepare a couple days of sub plans while I was off for oral surgery and it was so easy to leave a coding challenge for my students to complete during their Integrated Block. Their challenge? Code a scene showing the real reason Mrs Armour isn’t here today.
This is modeled after a journal activity I have left before as part of sub plans, and I have to say the videos did not disappoint…
5. Cross-curricular
When I talk to other teachers about robotics in early elementary I usually start with “tell me what you’re working on right now and I guarantee I can find you a way to teach it and/or reinforce it effectively using a robot,” and I feel pretty confident the same goes for Scratch. Whether you’re getting students to code the water cycle or life cycle of a plant or animal, having them code a scene presenting what they know about a topic, recording their voices saying and writing out new vocabulary or sentences structures in their first or second (or for some of my students third or fourth!) language, or as I saw at ITCamp this summer drawing 3D geometric shapes (thank you Ms. Phillips), you can use Scratch in any classroom.
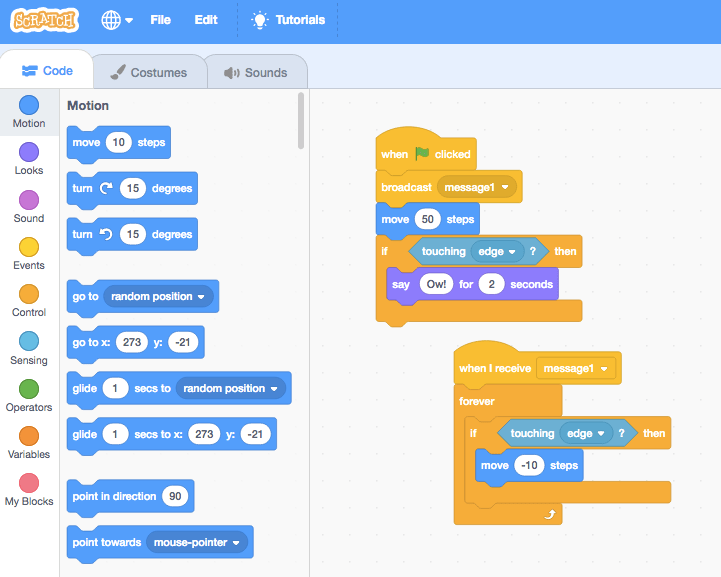
Another really interesting thing that you can do with Scratch, especially for older or more advanced students is viewing other users’ shared projects. If you ask my students they will be keen to show you some of the awesome games that other users have coded and shared on Scratch, and while playing them may be their first choice, I am more interested in taking a look behind the scenes at the blocks of code that make up each game.
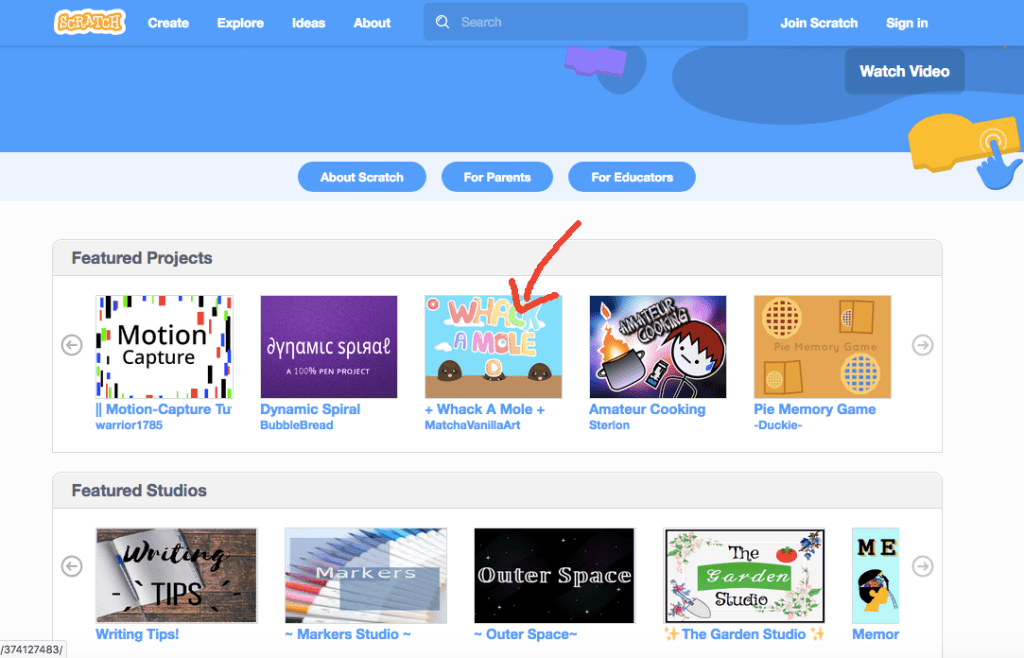
To “Look Inside” a game just head over to the Explore page and pick a project.

Once the game loads, click See Inside. I told you it was easy.
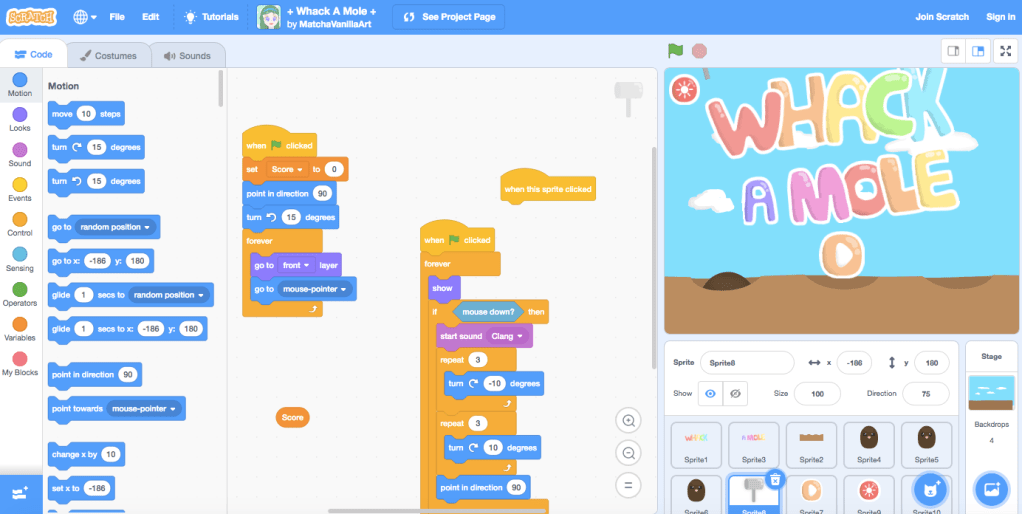
Ta da! You’re in. Now you can see all the details including the the strings of block code needed for each individual sprite.
I’ll be the first to admit that coding a functional video game is currently above my head, but being able to see the blocks of code used and how they interact is a real game changer. Pun intended. Scratch makes it really easy to see how other users created their games and projects, and I see this as a huge benefit for students and teachers.
In fact, I was recently working with a class of Junior High students and one of the students told me about how they been self-teaching themself more advanced coding at home using this feature. To work on Scratch projects at home, and to save their work, students need to set up a free account. It’s fairly easy but I recommend helping them with this process of having them do this at home with their parent/guardian.
I could go on and on about the benefits of incorporating Scratch into your classroom, but instead I’ll zip it for now and give you some time to go set up your account so you can try it for yourself.
Thanks for reading!
