I would be lying if I didn’t admit that I am feeling quite a bit more stress than usual right now. I am one of the fortunate people who gets to stay safe, and work from the safety and comfort of my home. This is a privilege that I am grateful for every day. Even with this privilege I still find myself worrying. Worrying about others who don’t have that privilege. Worrying about the dangers of this virus as it spreads around the world. Worrying about how my students are doing. Worrying that my online teaching is going to add to the stress in their homes. Worrying that I’m not doing enough. Worrying about my family. Worrying about my friends. Worrying about just about anything my mind can wander to.
If you feel the same, sometimes you just need a reminder to stop. To breathe. To remind yourself that you are trying your best, and that’s all anyone can ask of you. Sometimes, that is much easier said than done so I wanted to take some time and post about one of my favourite tools for calming my busy, anxious, mind. It also happens to be a favourite of my students’ and it may just help the little ones in your life that may need a little extra help finding some calm during this turbulent time.
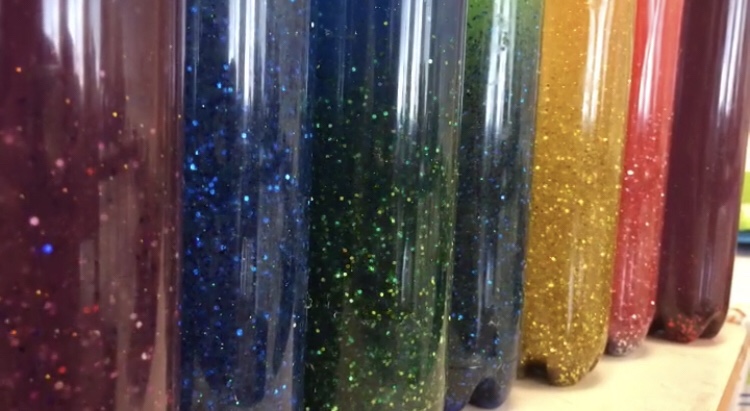
Mindfulness bottles – aka calm down bottles aka meditation bottles aka glitter bottles – are not only really enjoyable to look at, they can be used as a tool to support finding a sense of calm and refocusing your energy. Added bonus, they’re pretty easy to make as long as there is an adult to help with hot water and hot glue.
The trick to using these bottles to help you catch your breath and relax is to give them a really good shake so that the coloured water and glitter spirals around the bottle, just like the emotions and thoughts might be in your head, and to focus on the glitter as it swirls. As you focus on the glitter, try some deep breathing techniques – inhale for 5 counts, exhale for 5 counts, repeat, etc but keep your focus on the glitter. As you breathe, getting that oxygen into you lungs and into your prefrontal cortex, the glitter will start to slow down and settle, and hopefully so will you.
Now, let’s be clear: this is not my idea. These have been around for a while, and there are lots of other resources already available on how to use these bottles and hot to make them. I am just a big fan, have made these with my class before, and have had a few in my class for the last couple years that students can use when they need a little break. As I said, there are lots of other resources available on these bottles, so I’ll list some of my favourites at the end for you. But for now, let’s get down to how to make your very own mindfulness bottle.
Here are the materials you will need
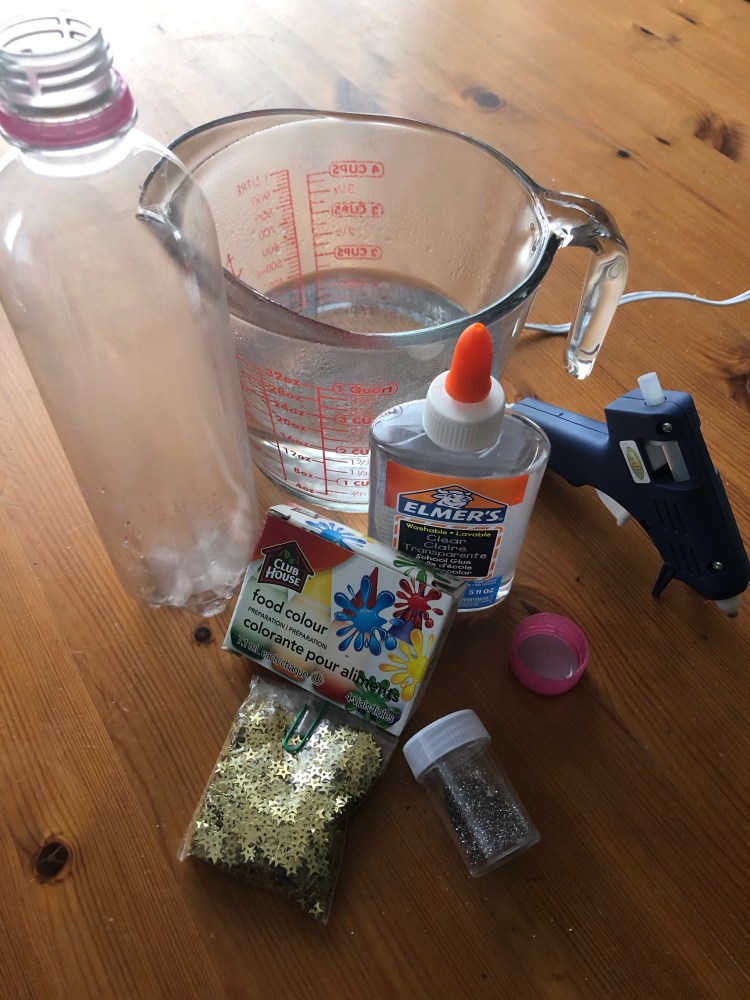
- empty plastic bottle with lid (I recommend plastic because you are less likely to break it)
- hot water to fill about 80% of the bottle
- clear glue (you will need about ½ a bottle)
- food colouring
- glitter
- optional: a funnel or a small piece of paper to make a DIY funnel so you don’t get glitter on everything – and I mean EVERYTHING
- a hot glue gun to seal the lid on
Start by removing the label and washing your plastic bottle. I am a big fan of Smartwater Flavoured Sparkling Water as a treat and the bottle looks really nice for this project so that’s an added bonus in my books.
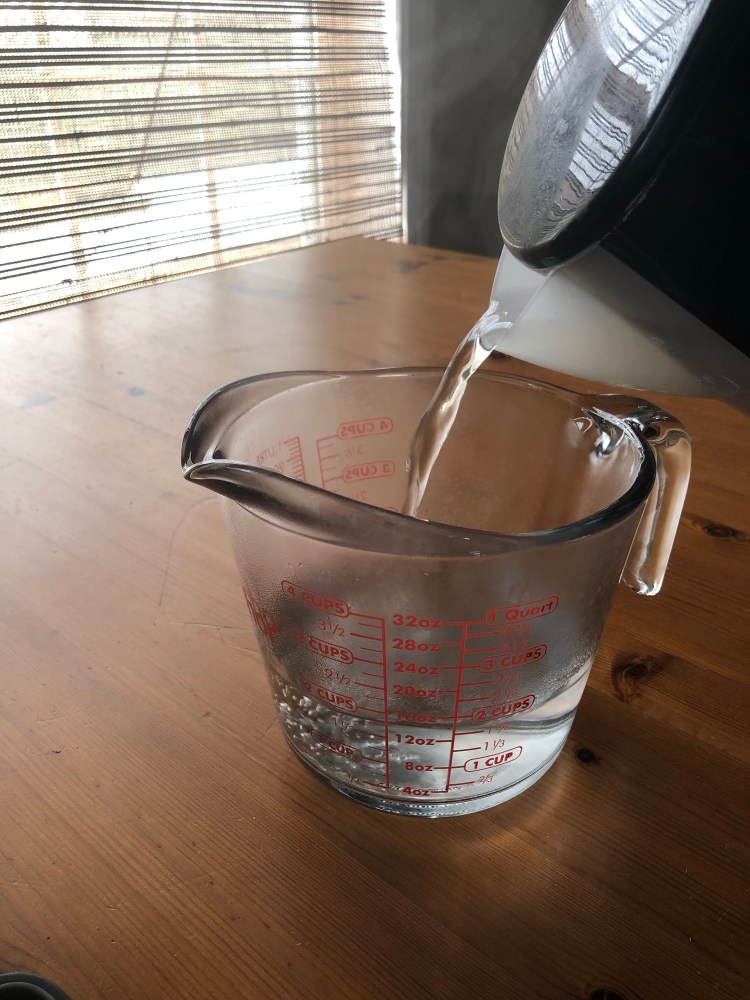
Heat up water to fill about 80% of the bottle. In my case that’s about 2C of water. I boiled it and let it cool down quite a bit. You want the water hot, but not melt the bottle hot.
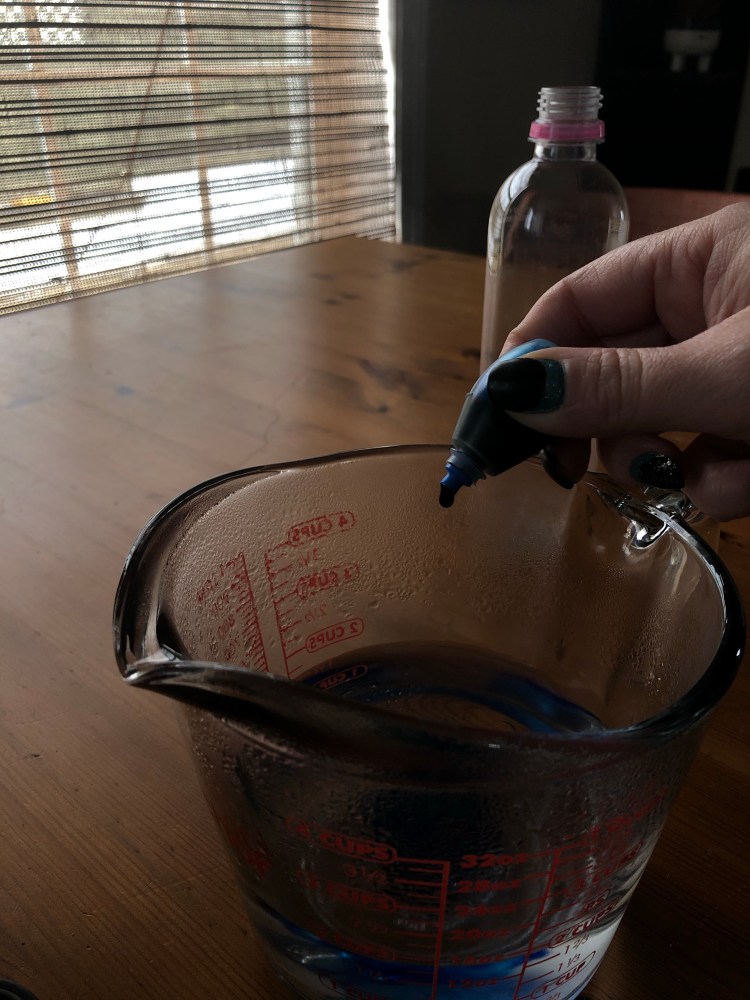
Add food colouring to the water and stir.
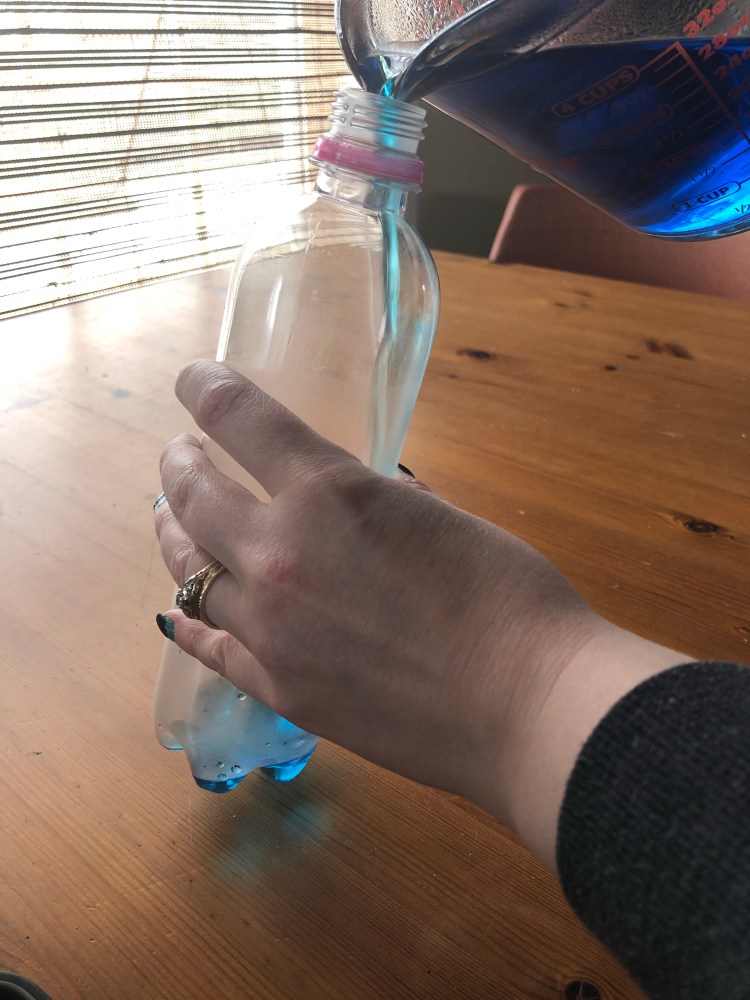
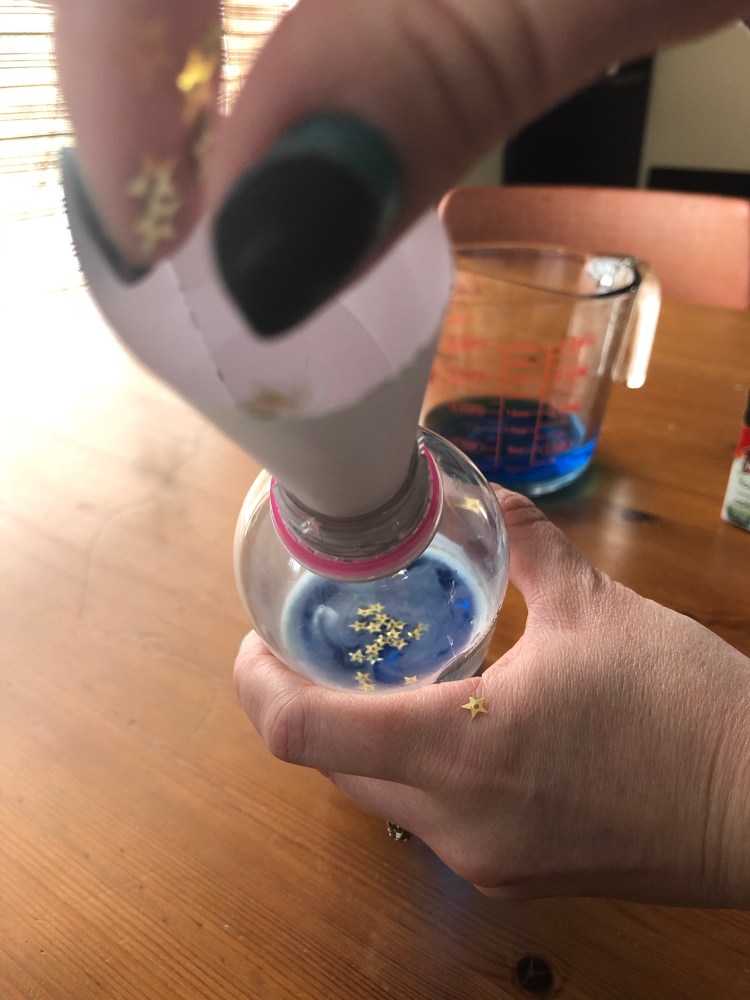
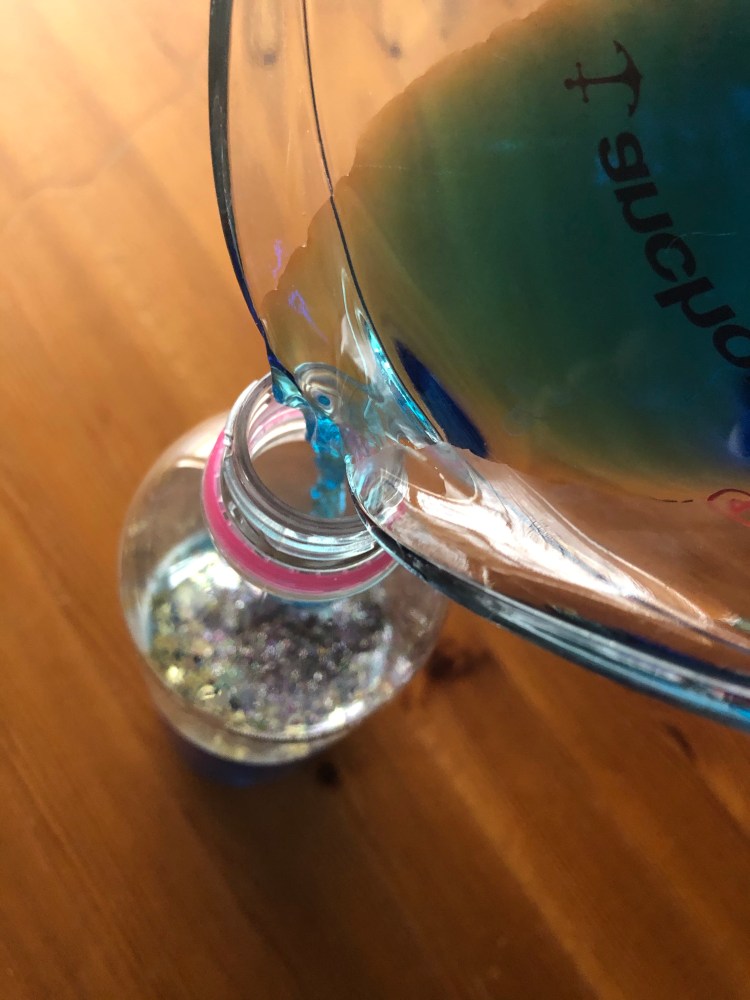
Pour half of the coloured water into the bottle.
Squeeze half of the clear glue bottle into the coloured water.

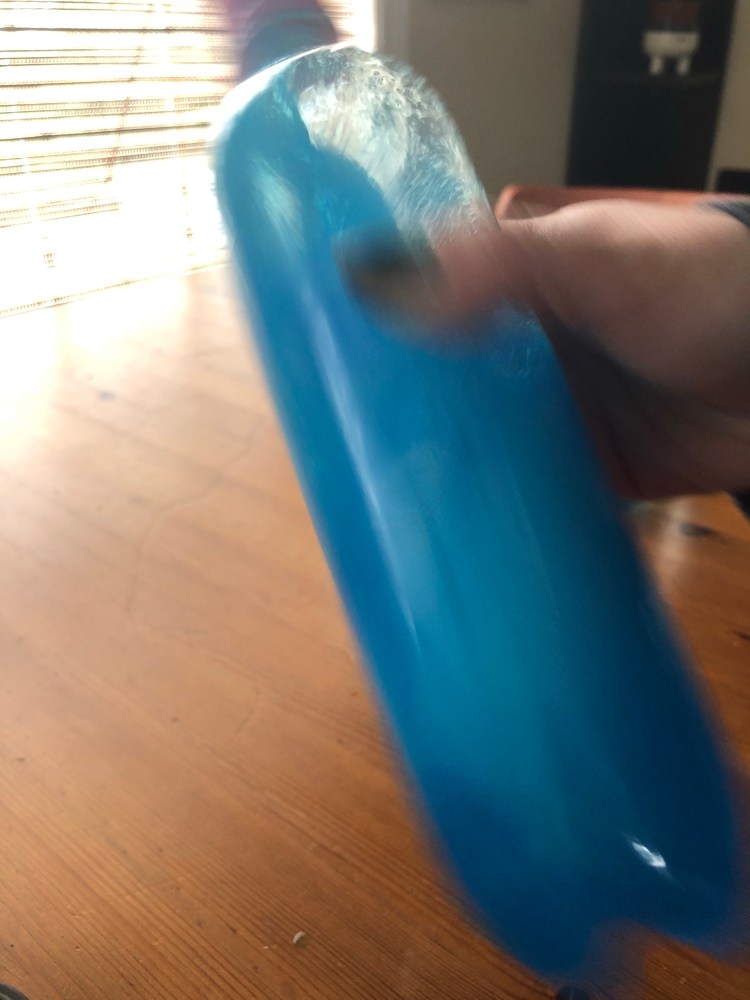
Put the lid on nice and tight, and give it a shake to blend the hot water and glue together.
Before you add the glitter, let me remind you that if you spill glitter in your house you will be finding it for years to come. I highly recommend using a funnel or putting some paper down underneath your bottle before the next step.
If you don’t have a funnel on hand, here’s a fun-nel way to make one. Ok, that pun didn’t really work…
Take a small piece of paper

Roll it up
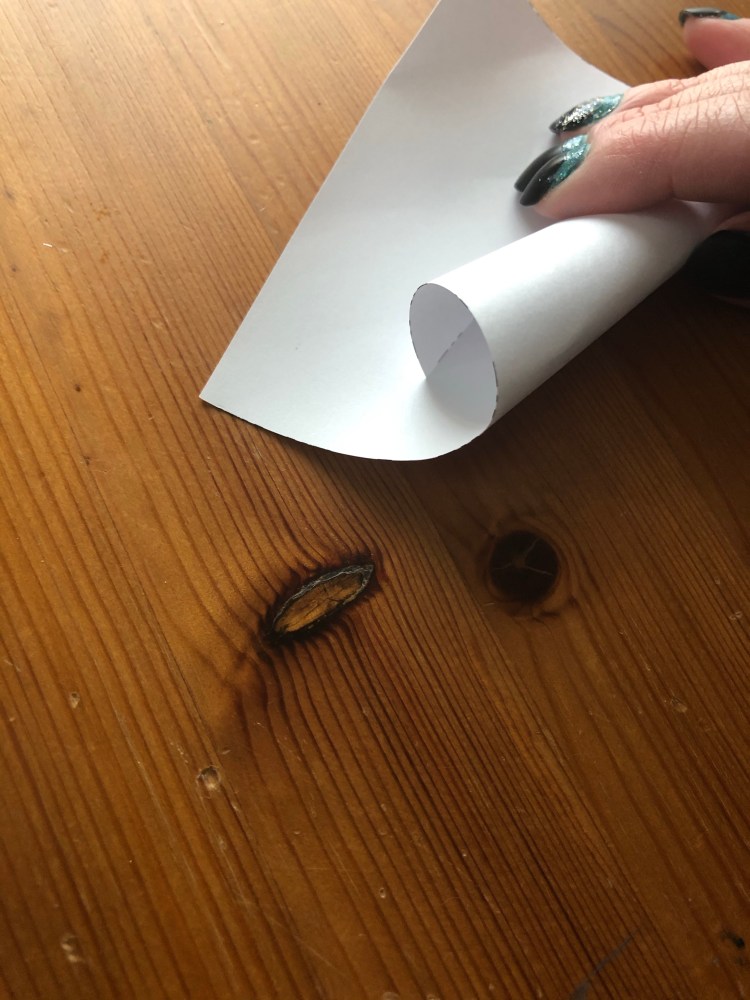
Ta Da! You’re ready to funnel glitter safely into the bottle.

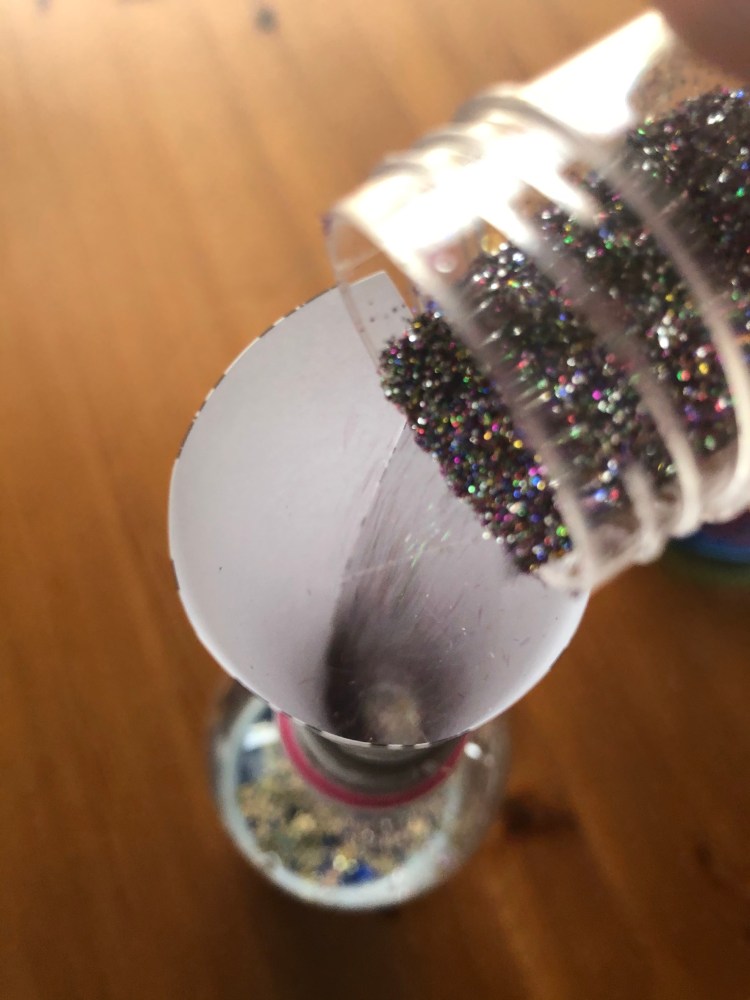
I have a plethora of glitter, but it is currently locked away at school so I am working with what I have on hand. I recommend using a larger glitter than the super fine glitter I have here, but it will still do the trick. If you have glitter glue on hand you can use this too, however it will affect the consistency of the mixture.
Pour your glitter in. I had some little stars so I used those as well. Feel free to customize.
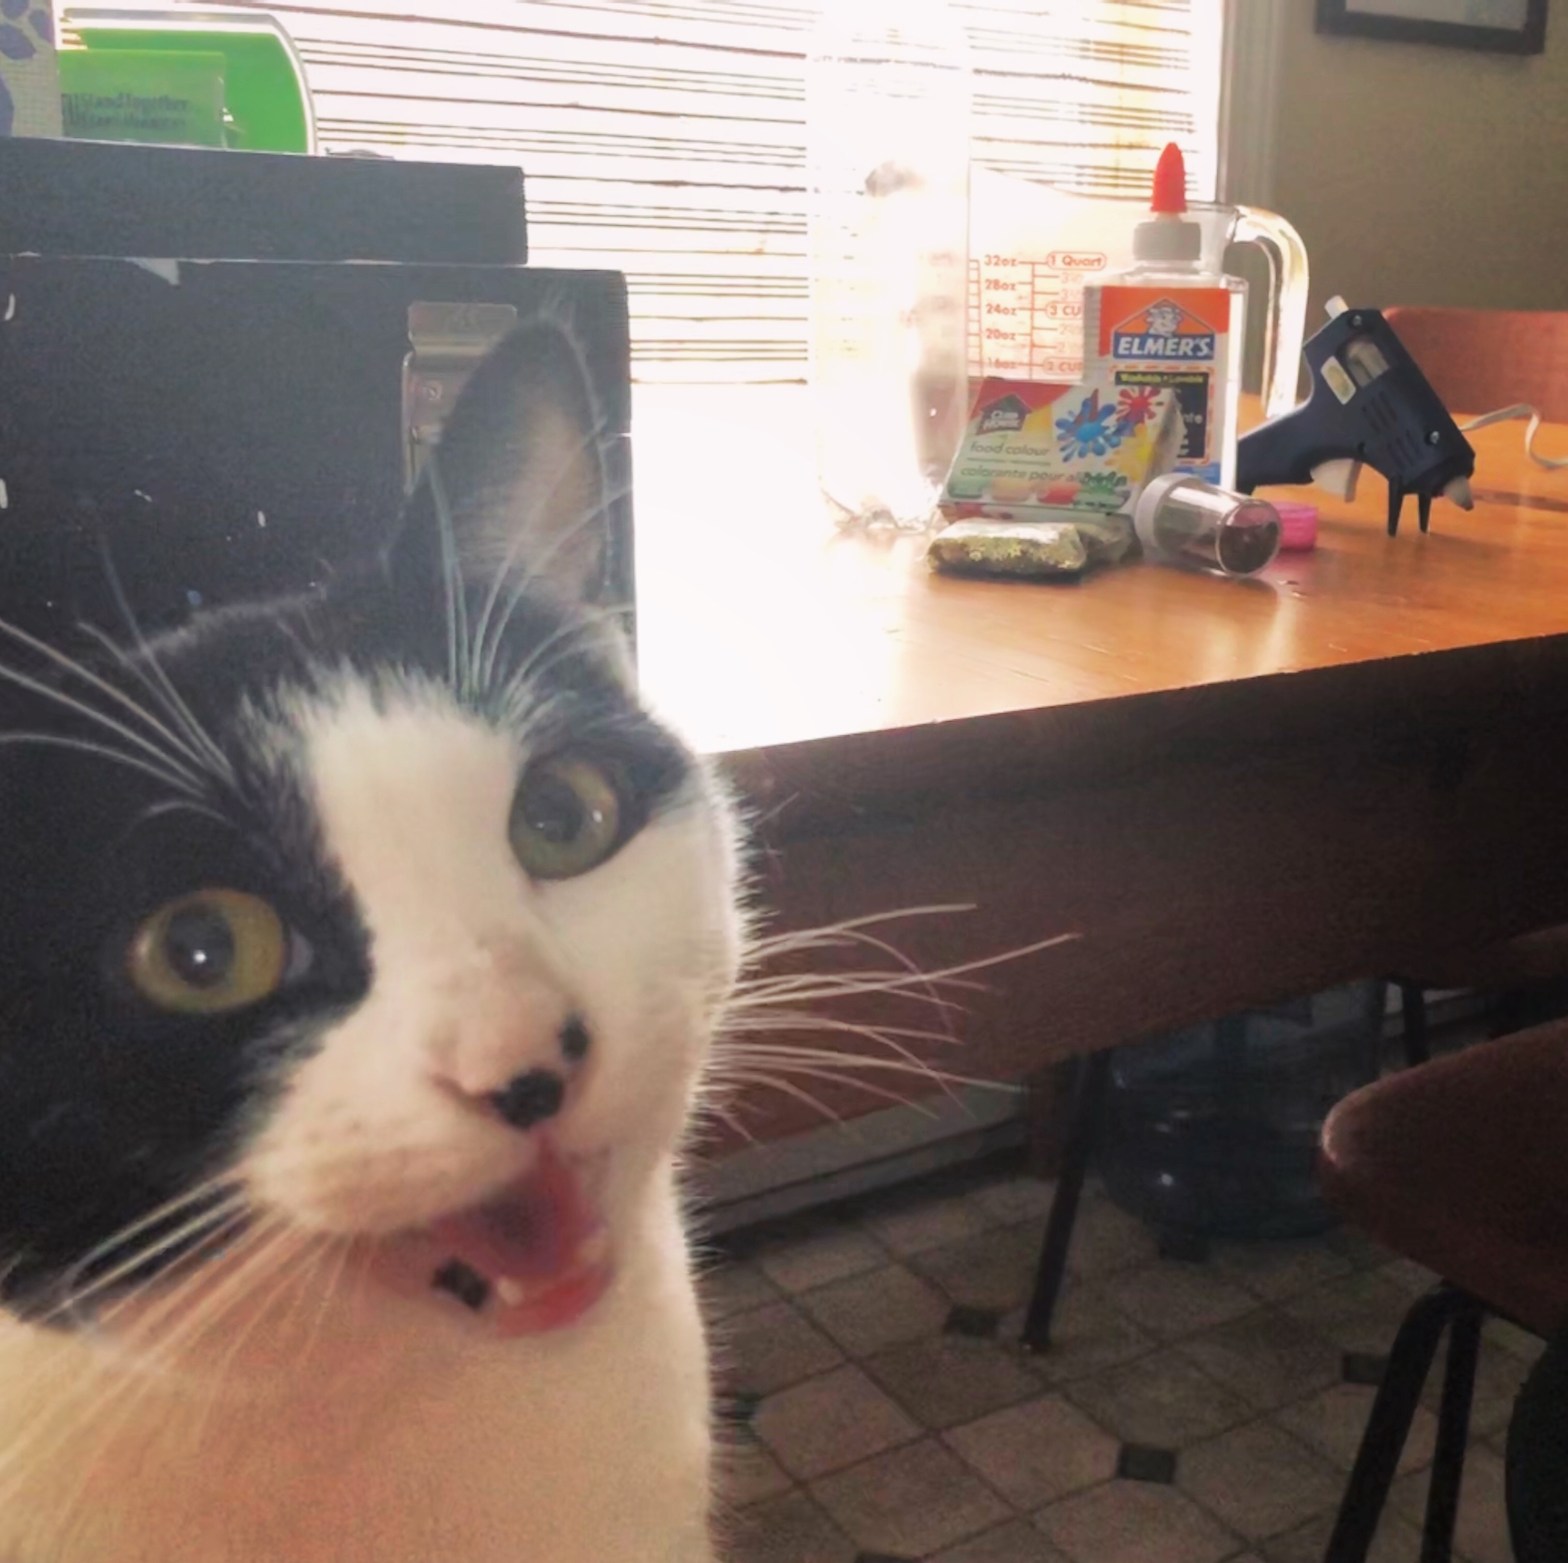
Please give your pets a chance to monitor your progress. Scully approves and is giving us the green light to continue.
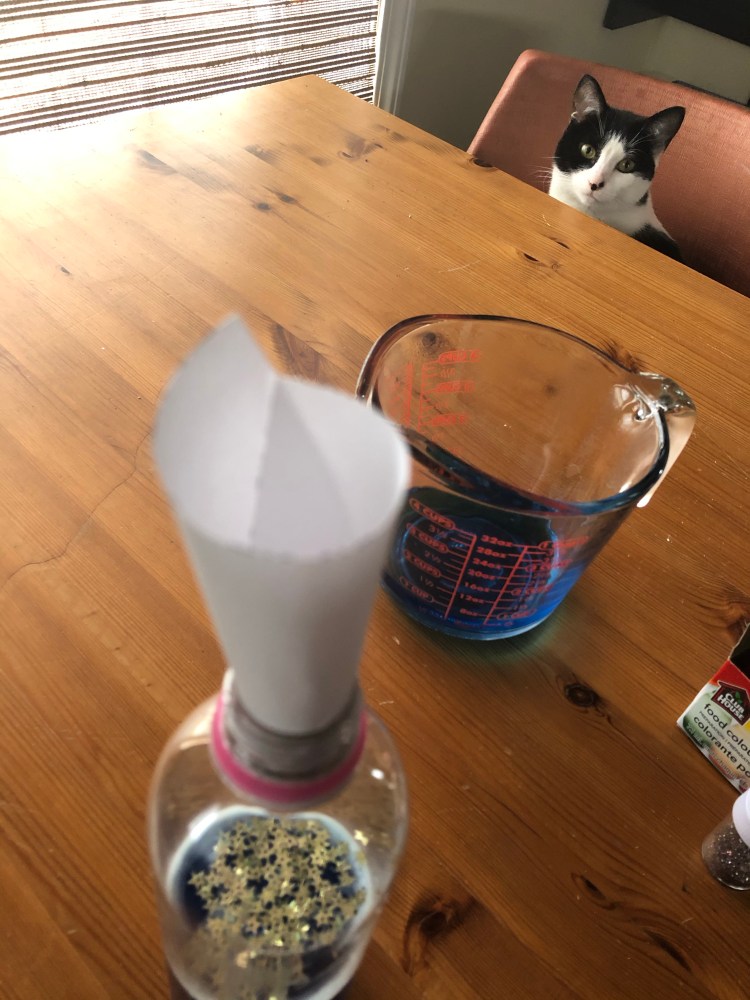
Add the rest of your water.
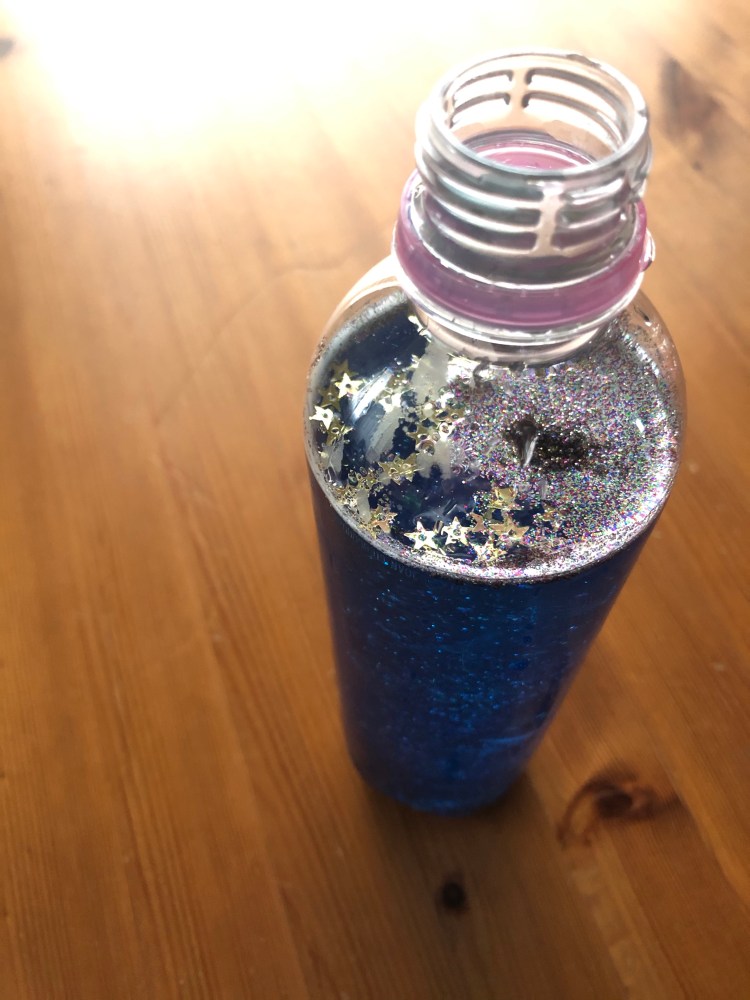
Tightly attach your lid again and shake well to blend.

You’re basically done! Test your bottle out before you seal the lid. If the glitter is settling too quickly, add more glue. If the glitter is settling too slowly, pour some of the mixture out and add more hot water.
Once you’re satisfied, put a little hot glue on the top of the water bottle and reattach the lid.
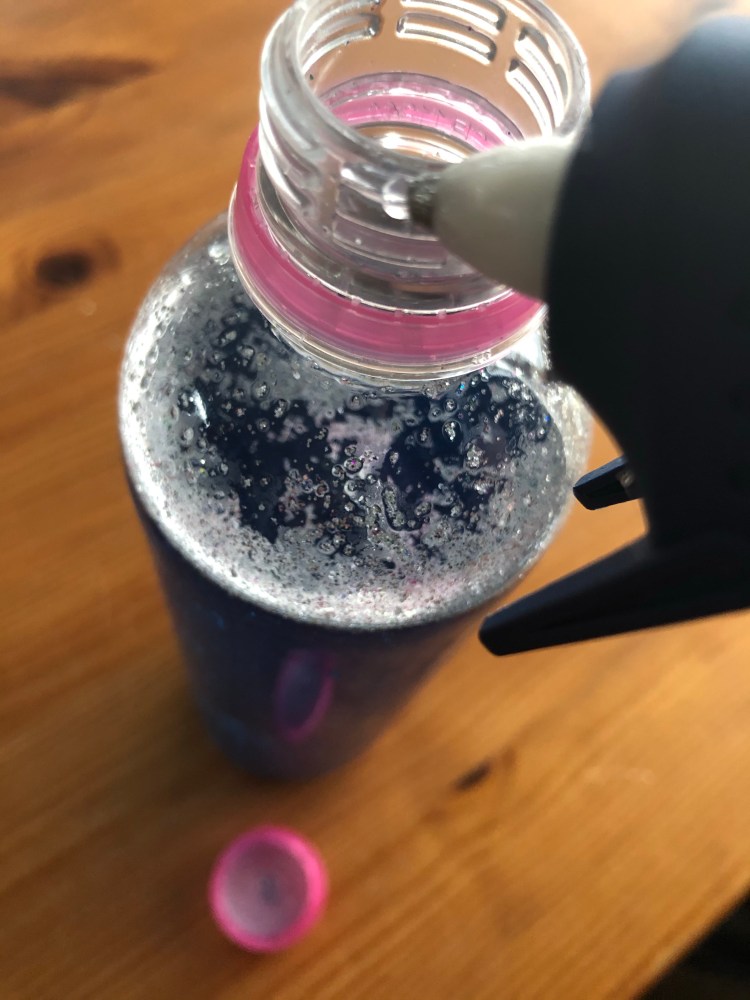
Make sure you push it down all the way and that it closes tightly. Learn from my mistakes and make sure the lid is completely attached before shaking the bottle.
Flip the bottle over, give it a shake and make sure it is all sealed.
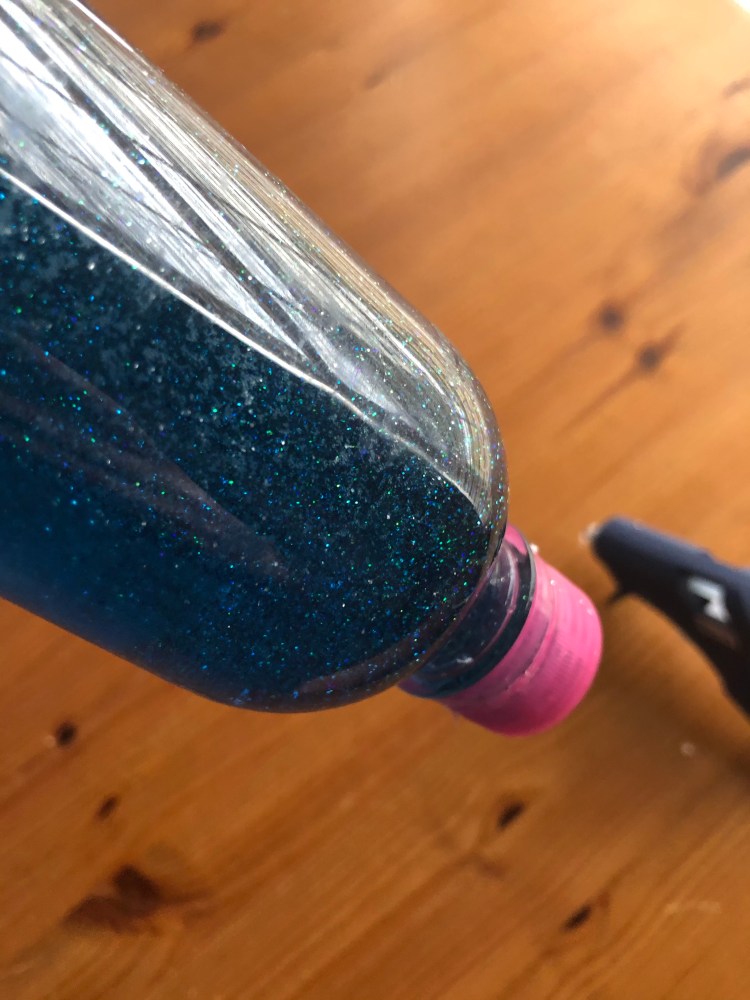
That’s all folks. Enjoy your mindfulness bottle!
As promised here are a few links about these handy little mindfulness tools, and how to do some deep breathing:
